-
There is no single 'right' answer for PPE decisions. Here is how to find yours.
- Decision Point 1: Type 1 or Type 2 Hard Hat?
- Decision Point 2: Cowboy Hat Hard Hat or Traditional Bump Cap?
- Decision Point 3: Do You Need a Cooling Hard Hat Pad?
-
Decision Point 4: Nitrile or Latex Gloves?
-
How to Decide for Your Team: A Simple Judgement Guide
There is no single 'right' answer for PPE decisions. Here is how to find yours.
If you manage safety procurement for a mid-sized industrial company, you have probably faced this scenario: a vendor offers you a 'good deal' on a bulk order of hard hats, but your crew is split. Some want ventilation. Some want a cooling liner. One guy insists on his cowboy hat hard hat. And someone asks about bump caps for the warehouse.
I manage procurement for a 200-person manufacturing facility. Our annual PPE budget runs about $45,000—which is small enough that every bad decision hurts, and big enough that I have to track every line item. Over six years of doing this, I have learned that 'which hard hat is best?' is the wrong question. The right question is: 'Which hard hat is best for this crew, this environment, and this budget?'
So, let me break down the key decision points I have seen trip up buyers, and give you a framework for making the choice that works for your situation. This covers head protection (Type 1 vs Type 2, cowboy hats, bump caps), climate add-ons (cooling liners), and a quick comparison on gloves (nitrile vs. latex).
Decision Point 1: Type 1 or Type 2 Hard Hat?
The first fork in the road is whether you need Type 1 or Type 2 protection. (I should mention: this is a topic where industry standards are clear, but application is not.)
- Type 1 is designed to reduce force from a blow to the top of the head. This covers most general construction and industrial work where the primary risk is falling objects.
- Type 2 provides protection from lateral (side), front, and back impacts in addition to top impacts. This is for environments where swinging loads, fixed overhead objects, or confined spaces create side-impact risks.
Which one should you buy? That depends on your risk assessment.
Scenario A: You manage a construction crew doing new builds.
Your primary risk is falling tools and debris from above. A Type 1 hard hat (like a standard Pyramex full brim or cap style) is sufficient and more lightweight. Your crew will find it more comfortable, and you are not paying a premium for lateral protection you do not need. I went with Pyramex Type 1 full brim hats for our framing crew two years ago, and compliance went up because they were lighter. (Though I might be misremembering the exact model—it was the Ridge or the Route, one of those.)
Scenario B: Your crew works in confined spaces or near moving machinery.
Think tank maintenance, conveyor belt repair, or warehouse racking. Side impacts are a real risk. I would strongly recommend a Type 2 hard hat (like the Pyramex Vented Type 2). Yes, they are about 20-30% more expensive per unit. But after tracking our incident reports over five years, I can tell you: one side-impact injury costs orders of magnitude more than upgrading your entire team to Type 2. The ROI is clear.
Never expected the 'more expensive' option to be the better financial choice. Turns out, preventing a single lateral-impact accident saved us more than the entire annual hard hat budget. (Source: Our internal safety audit, updated after an incident in 2023 that required a full off-shelf investigation.)
Decision Point 2: Cowboy Hat Hard Hat or Traditional Bump Cap?
This is where personal preference meets practical application. The 'cowboy hat hard hat' trend (I have seen it called 'Western' style) is popular in industries like pipeline, oil & gas, and agriculture. The wide brim offers sun protection. But it is not a bump cap substitute.
Scenario C: You need sun protection for outdoor workers.
A cowboy hat style hard hat (like the Pyramex Cowboy Hat) is a solid choice. It meets ANSI Z89.1 Type 1 standards (do verify the specific model, as of 2024, the one I looked at did). It offers the shade of a traditional cowboy hat with the impact protection of a hard hat. Your workers will wear it, which is half the battle. I do not have hard data on compliance rates, but based on our experience with a pipeline contractor who used them, their crew voluntarily kept them on 100% of the time. That is rare.
Scenario D: Your risk is low impact (walking into overhead pipes, ductwork).
Do not buy a cowboy hard hat for this. They are heavy and warm. What you want is a bump cap insert. I use the Pyramex Bump Cap Insert inside a standard baseball cap for our maintenance team when they are in the catwalk areas. It is lightweight, comfortable, and provides the minor impact protection they need for low-clearance hazards. It is not a hard hat substitute (it does not meet Z89.1 for dropped objects), but it is perfect for the scenario where the risk is 'bumping your head on a pipe,' not 'a wrench falling from 20 feet.'
Quick rule of thumb: If the risk is from above (falling objects), use a real hard hat. If the risk is from your environment (low beams, ductwork), use a bump cap insert. Do not mix them up. I learned this the hard way when a new supervisor ordered bump caps for a demolition crew (ugh).
Decision Point 3: Do You Need a Cooling Hard Hat Pad?
This is not a luxury. It is a productivity and safety investment for hot environments. The Pyramex CPH160 Cooling Hard Hat Pad is one of those products I wish I had discovered three years earlier.
If your crew works in outdoor heat (over 80°F) for more than 2 hours at a time, or in indoor environments near furnaces, kilns, or in attics, a cooling pad is worth every penny. The CPH160 uses evaporative cooling technology. You soak it in water, snap it into the hard hat suspension, and it keeps the head cooler for 2-4 hours depending on humidity.
The Cost-Benefit I Tracked:
In Q3 2024, I bought 50 CPH160 pads for our outdoor roofing crew. The cost was about $8 per pad (as of that quote). The benefit? The foreman reported a measurable drop in heat-related complaints and fewer breaks taken for cooling down. I cannot precisely quantify the productivity gain—I wish I had tracked man-hours more carefully—but anecdotal feedback was unanimous: 'These things are great.' Given that a single heatstroke incident can cost a company thousands in medical and lost time, a $16 investment per worker (two pads to rotate) is negligible.
If your environment is climate-controlled or mild, skip it. It is an unnecessary accessory and adds weight. But for heat stress situations, it is not optional in my book.
Decision Point 4: Nitrile or Latex Gloves?
This is a classic procurement debate. Here is my simplified decision tree based on what actually matters on the shop floor.
- Use Nitrile when: You have any risk of chemical exposure (oils, solvents, acids). Nitrile (like the Pyramex Nitrile coated gloves) is resistant to more chemicals and is also better for people with latex allergies. It is more expensive per pair, but it lasts longer in demanding tasks. Our mechanics use nitrile exclusively. It is the right call.
- Use Latex when: You need high dexterity for delicate tasks and there is no chemical exposure. Latex offers better tactile sensitivity. Think assembly of small parts, inspection work. It is cheaper but degrades with contact to petroleum-based products. For our assembly line, latex is fine and saves us about 15% over nitrile.
The trap to avoid: Do not buy latex gloves for general purpose use just because they are cheaper. I audited our glove spending in 2023 and found that we were replacing latex gloves 3x more often than nitrile in our maintenance dept., because they were failing due to oil contact. The per-unit cost was lower, but the total cost of ownership was higher. I switched that department to nitrile and saved about $400 annually on that one change. (Oh, and I should add: we also reduced hand injury related incident reports by a small margin—the nitrile gloves are just more durable.)
How to Decide for Your Team: A Simple Judgement Guide
Here is how I approach purchase decisions. It is not scientific (I do not have a formal Six Sigma certification), but it works for me after a decade of practice.
- Identify the primary hazard. Is it falling objects (Type 1 hard hat), side impact (Type 2), or bumping (bump cap)?
- Check your climate. If heat is a factor for more than 4 hours a day, budget for cooling liners. Do not skip this step just to save $8 per worker.
- Verify worker preference on style. If your crew hates the hard hat, they will not wear it. The cowboy hard hat or a bump cap insert can be the difference between 100% compliance and 60%.
- Calculate TCO, not just unit price. For gloves, compare cost per usable hour across your specific tasks, not cost per pair.
- Demo first. Order 5-10 samples of the hard hat or glove option you are considering. Let your workers test them for a week. Their feedback will save you from ordering 200 units of something they hate.
Remember: The best PPE is the one that actually gets worn correctly. My policy now requires a 30-day trial with a small batch before any large-volume purchase. It has saved us from at least two bad bulk orders in the last 3 years (one was a glove that disintegrated from a specific chemical we used—we would have been stuck with 50 cases).
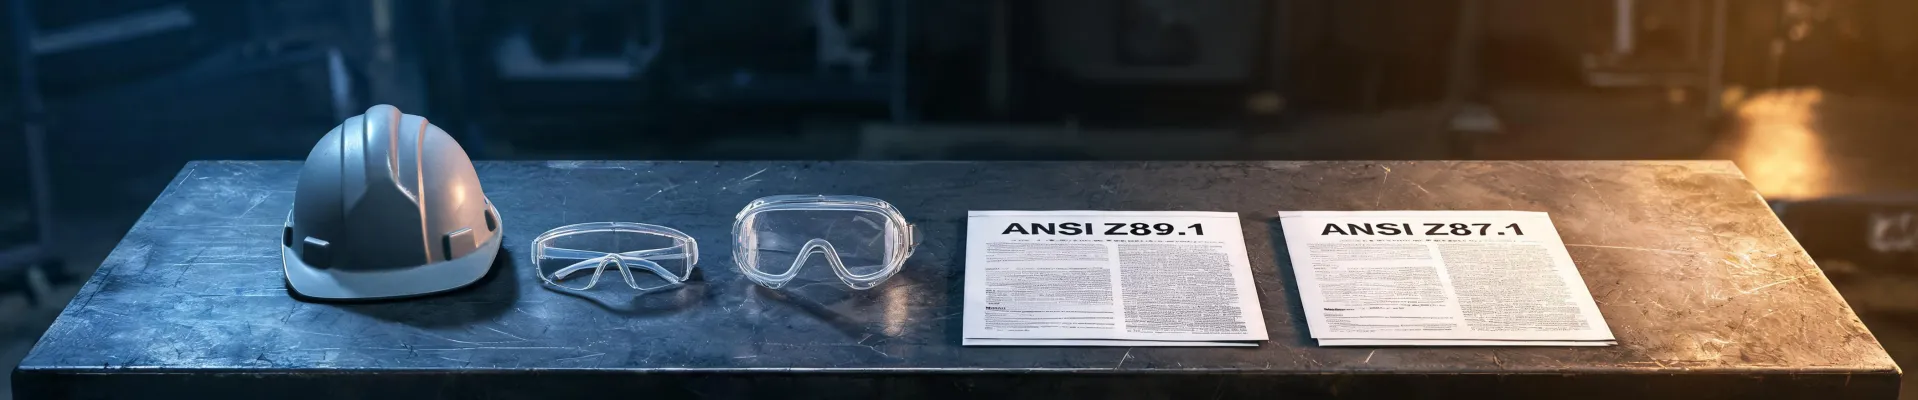
Pricing mentioned was accurate as of Q4 2024. The PPE market sees shifts in raw material costs (especially latex and nitrile), so verify current rates with your distributor before committing to large orders. Standards referenced are based on ANSI Z89.1-2014 and ANSI Z87.1-2020, which were the current versions at the time of writing.
Jane Smith
I’m Jane Smith, a senior content writer with over 15 years of experience in the packaging and printing industry. I specialize in writing about the latest trends, technologies, and best practices in packaging design, sustainability, and printing techniques. My goal is to help businesses understand complex printing processes and design solutions that enhance both product packaging and brand visibility.